
Connecting your Green Feathers Solar Powered WiFiCameraUpdated 2 months ago
Please Note: Before you mount the camera in the bird box, make sure it's connected to your WiFi router and can be viewed on the app. It's best to set the camera up when it's plugged into a different room than your router, then once it's connected you can unplug it and install it in the final location
It is also recommended to fully charge the camera and solar panel before mounting in position as this will maximise running time.
Test the WiFi signal strength by taking your smartphone/tablet to the site where you plan to install your camera; if it has a weak signal at the installation site then the camera may struggle to maintain a connection (see section 9 Hints & Tips at the bottom of the guide for help with WiFi signal strength)
Insert a micro SD card if you have one; hold the camera with the lens facing up, then insert the micro SD card with the metal contacts facing up. Push it in full until you feel it click into place. If you have trouble inserting the SD card to the point where it clicks into place, hold it down with your thumb then use a thin object like a pen to push it down fully
Ensure the device being used to set up the camera is connected to the same WiFi network that you want the camera to be connected to (this is only required for the setup process)
Make sure you know the name and password of the WiFi network to which the camera will be connected to
Make sure that you are connecting the camera to a 2.4GHz WiFi signal; if you don't know what this is you can read more here
Getting started with connecting your camera
If you haven't registered an account you can follow this guide.
Adding the camera to the app
The first time you go to the Home page, you can choose to allow the app to use your device location. This is not essential but helps with some features. Next, click the green '+' icon at the top right of the screen.

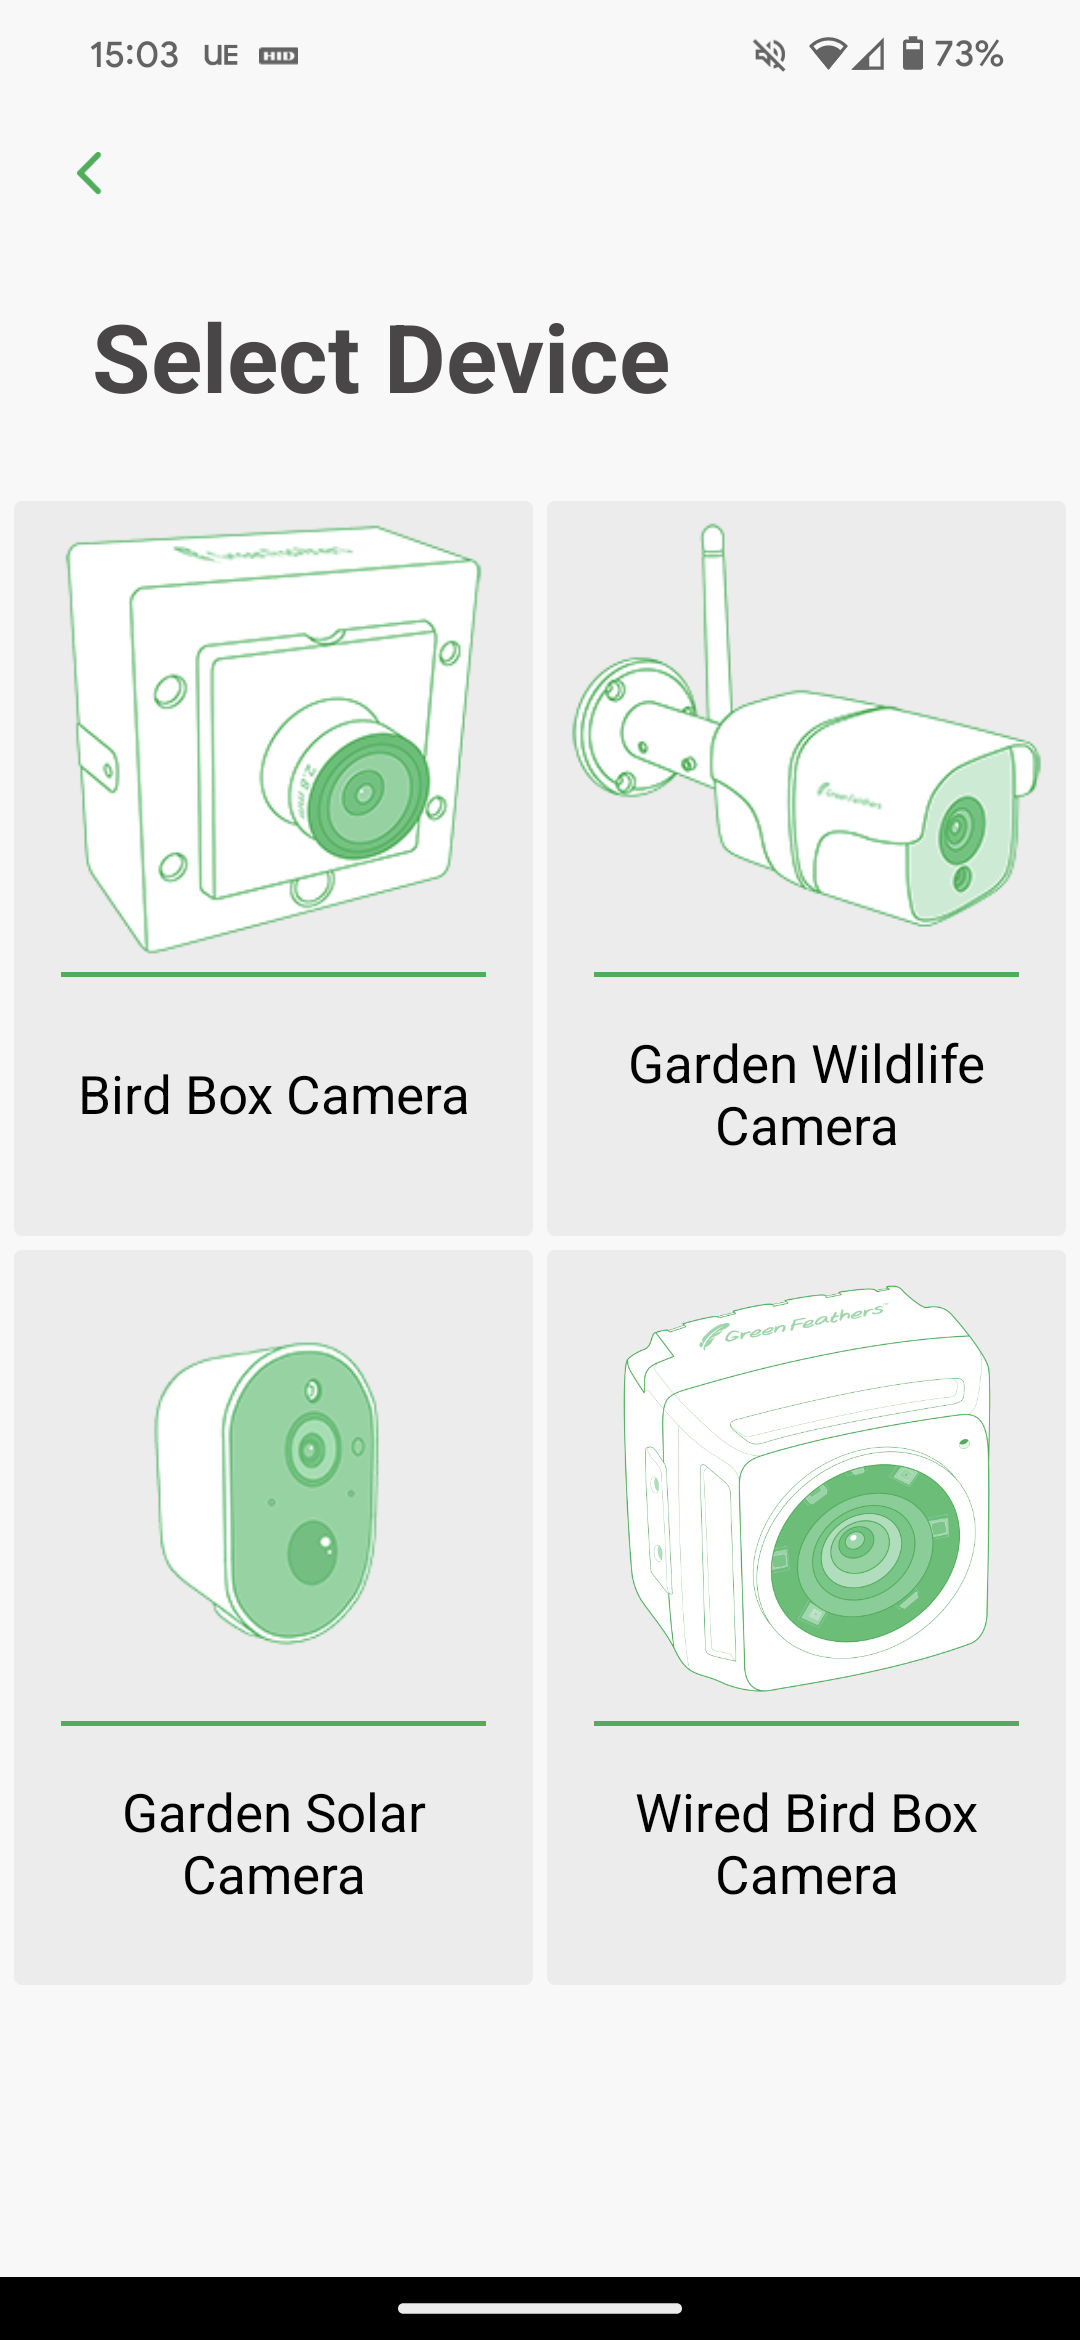
Now select the battery-powered camera you are setting up, then select "QR mode":

Now that your camera is charged you will want to power it on, to help with the first-time setup you will want to do this in a separate room from your WiFi router.
Turn the camera on.
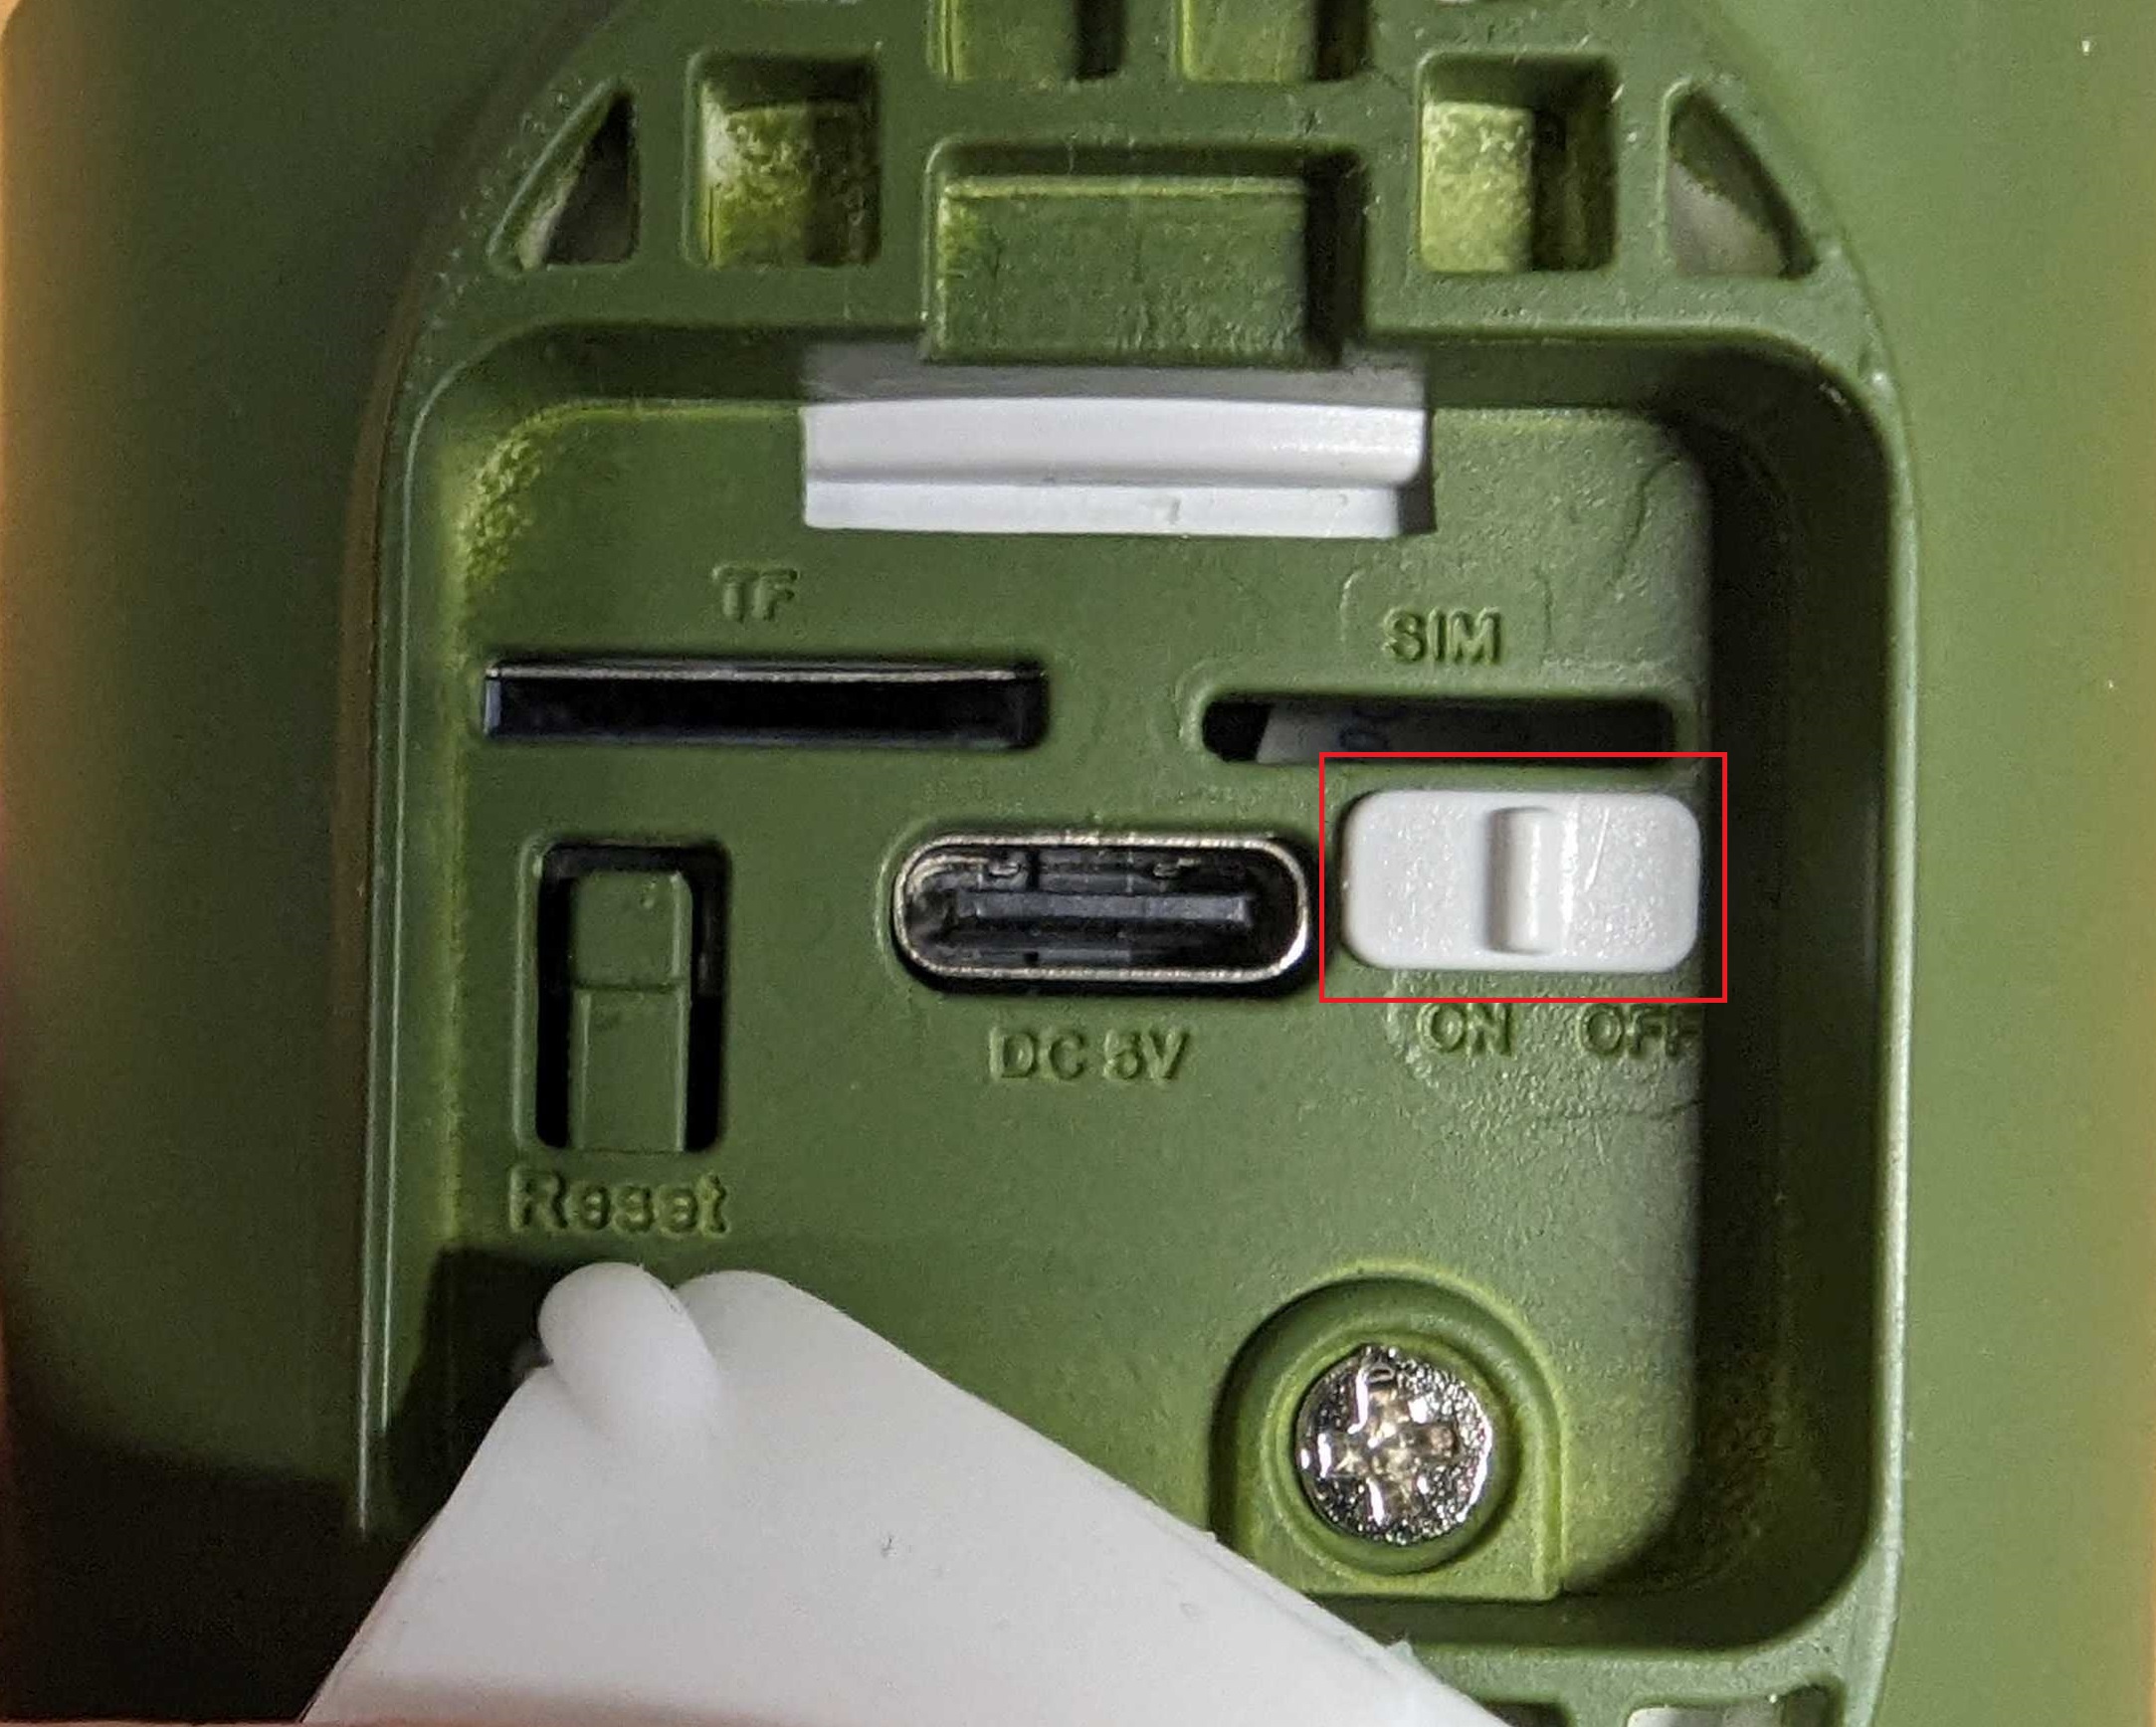
Press and hold the reset button for 5-10 seconds, and an audio prompt will sound to show it's been reset. The red indicator light on the front will be blinking to show it is ready to be set up.

Tap the circled icon in the image below to bring up local WiFi networks. Select the WiFi network to which you want to connect the camera and then input the password for this network.

Press next and then point your camera at the QR Code which shows on your phone. The camera will want to be 10-20CM away. One tip that can work well is placing your phone on a flat surface and then slowly moving the camera closer or further away. You will hear an audio prompt from the camera when it has connected, you can tap next to move on with the setup.
The camera will now connect to your WiFi and prompt you with a screen to give the camera a name.
If the countdown reaches the end without connecting you will want to try our alternative setup method and also check these points.
Need more help?
If you need help with anything else please check out our other guides or get in contact.