
How to: View playback & export footage on the Green Feathers app (GFIP320BWF)Updated 5 days ago
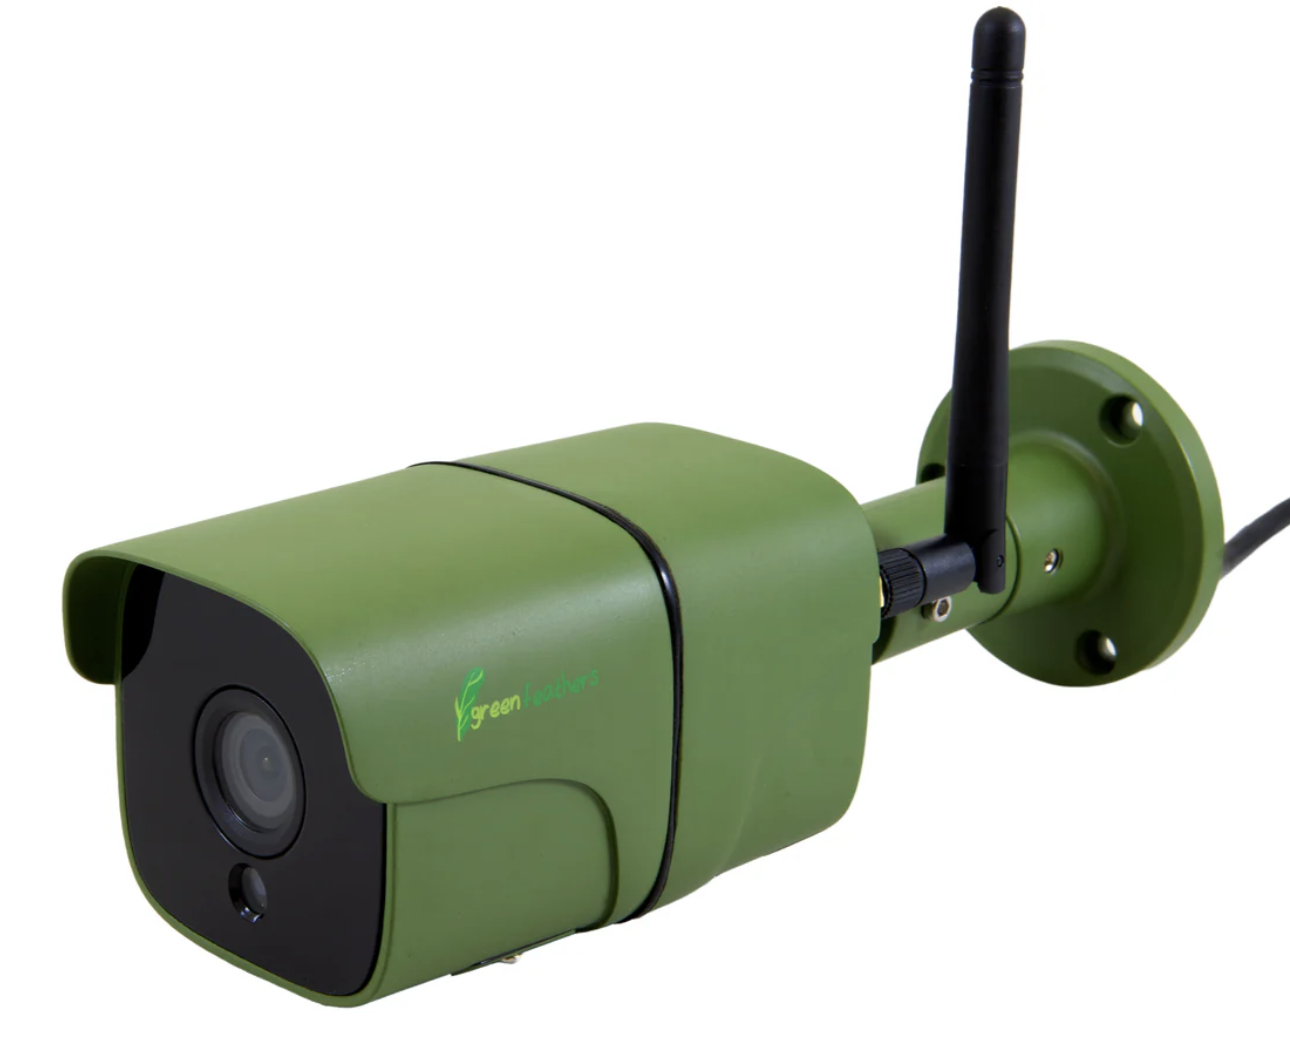
This guide runs through the playback function and exporting footage on the Green Feathers app for the camera pictured below. If you are unsure of which camera you have please check here.
 |
Before we begin -
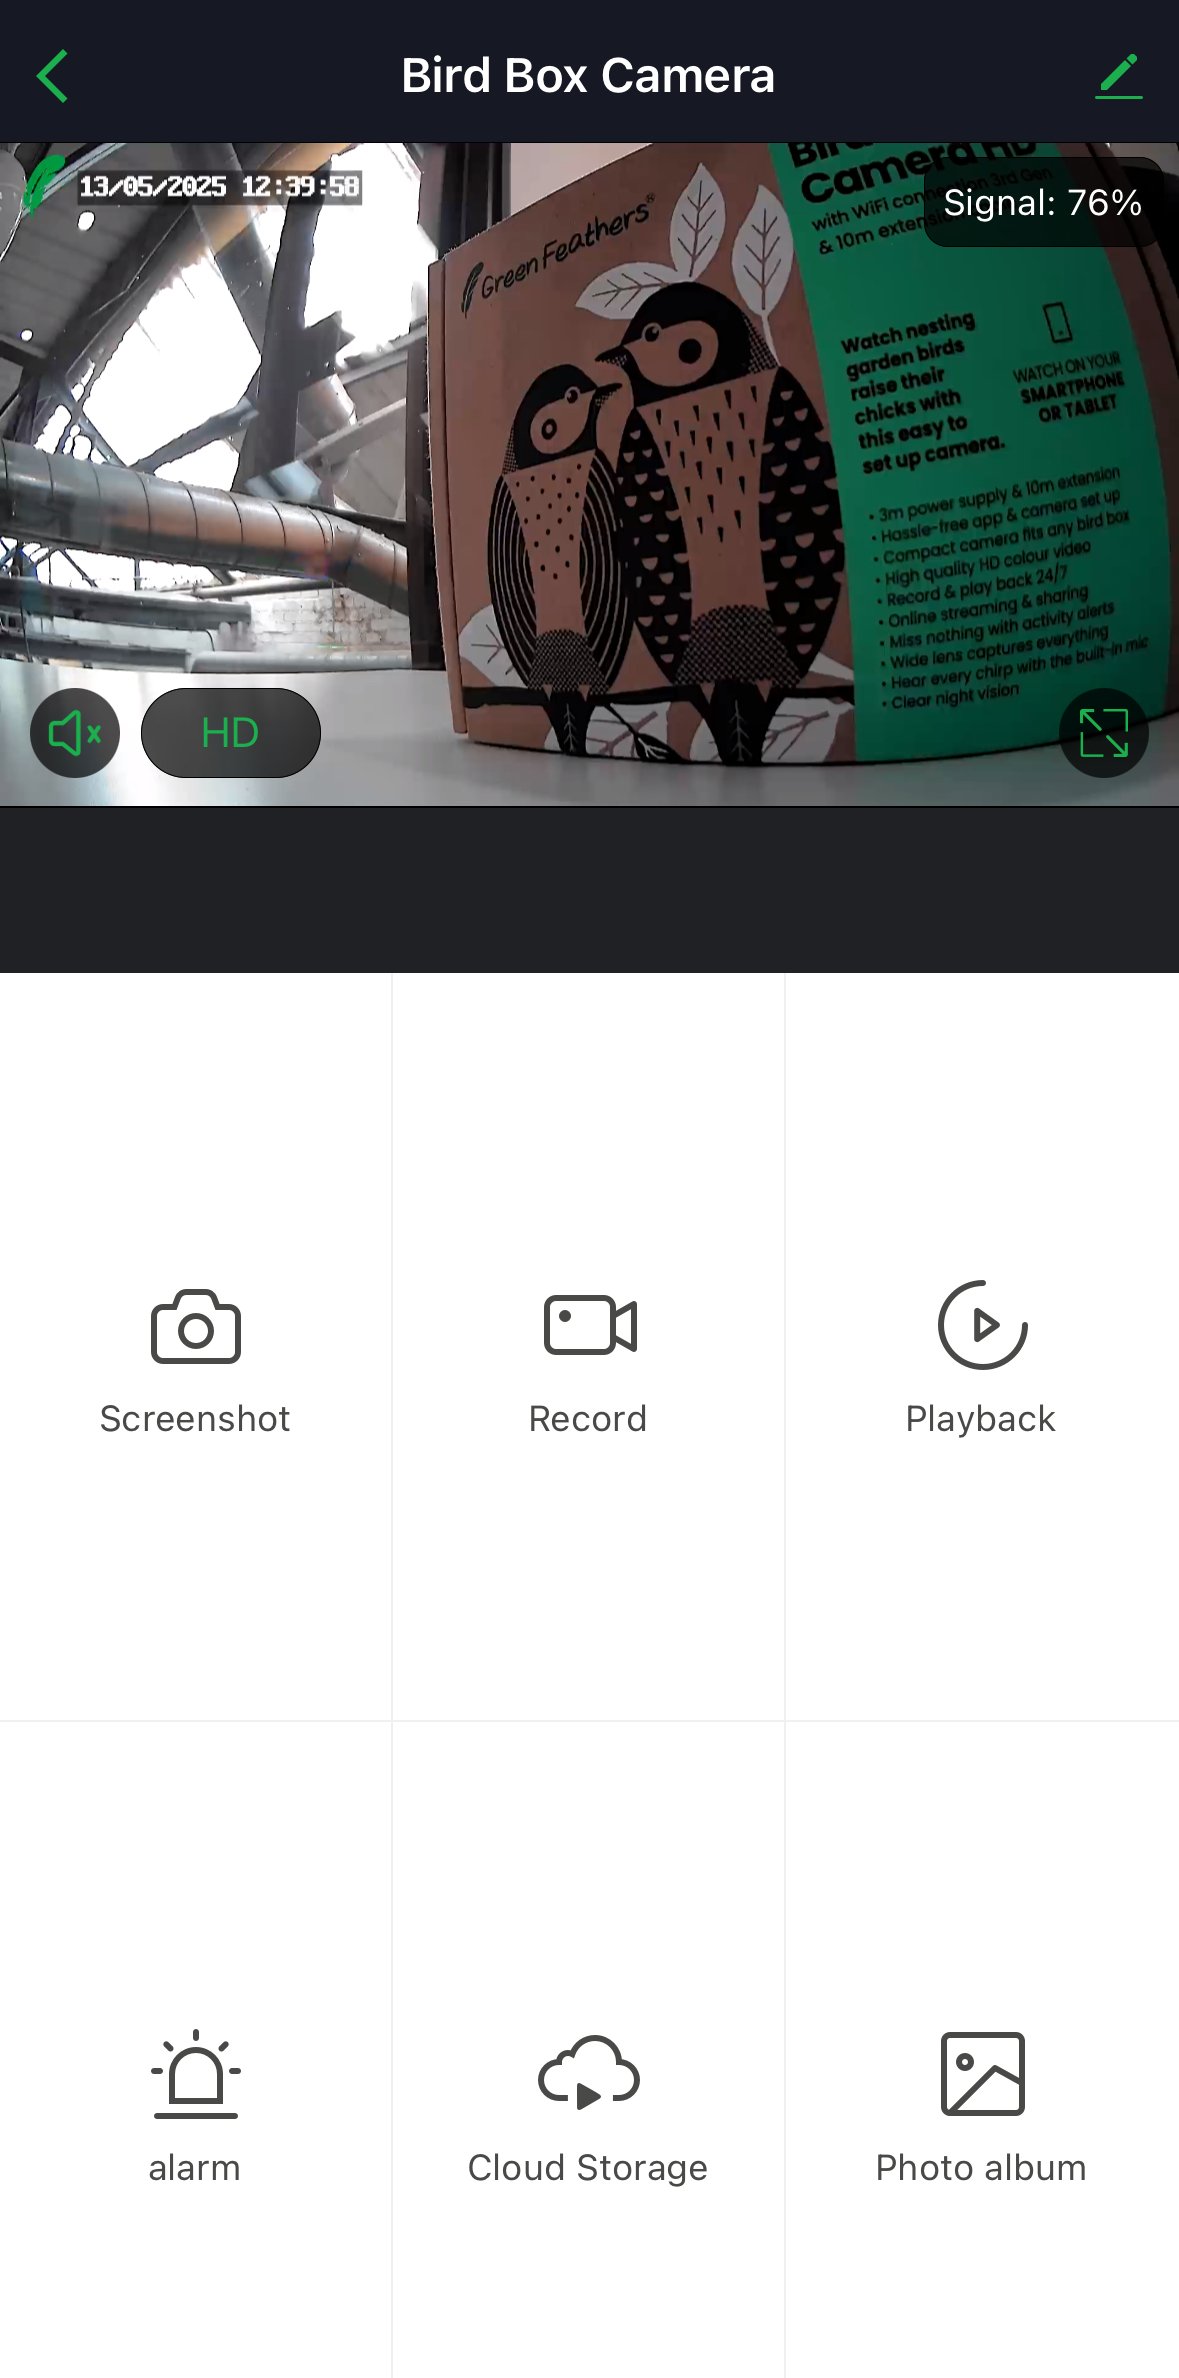
If your app is the older style (for older versions of the cameras) and your live view page looks like the image below, you will need to follow go to our page for the NCIP3WF and older style app guides here.
Let's Begin -
Please note: You can only access this section of the app if you have an SD card installed.
The playback feature acts only as a temporary way to catch up on footage you may have missed. Once your SD card is full, the oldest footage is forgotten as new footage is added. It is up to you to export the footage you want to keep.
Playback Information:
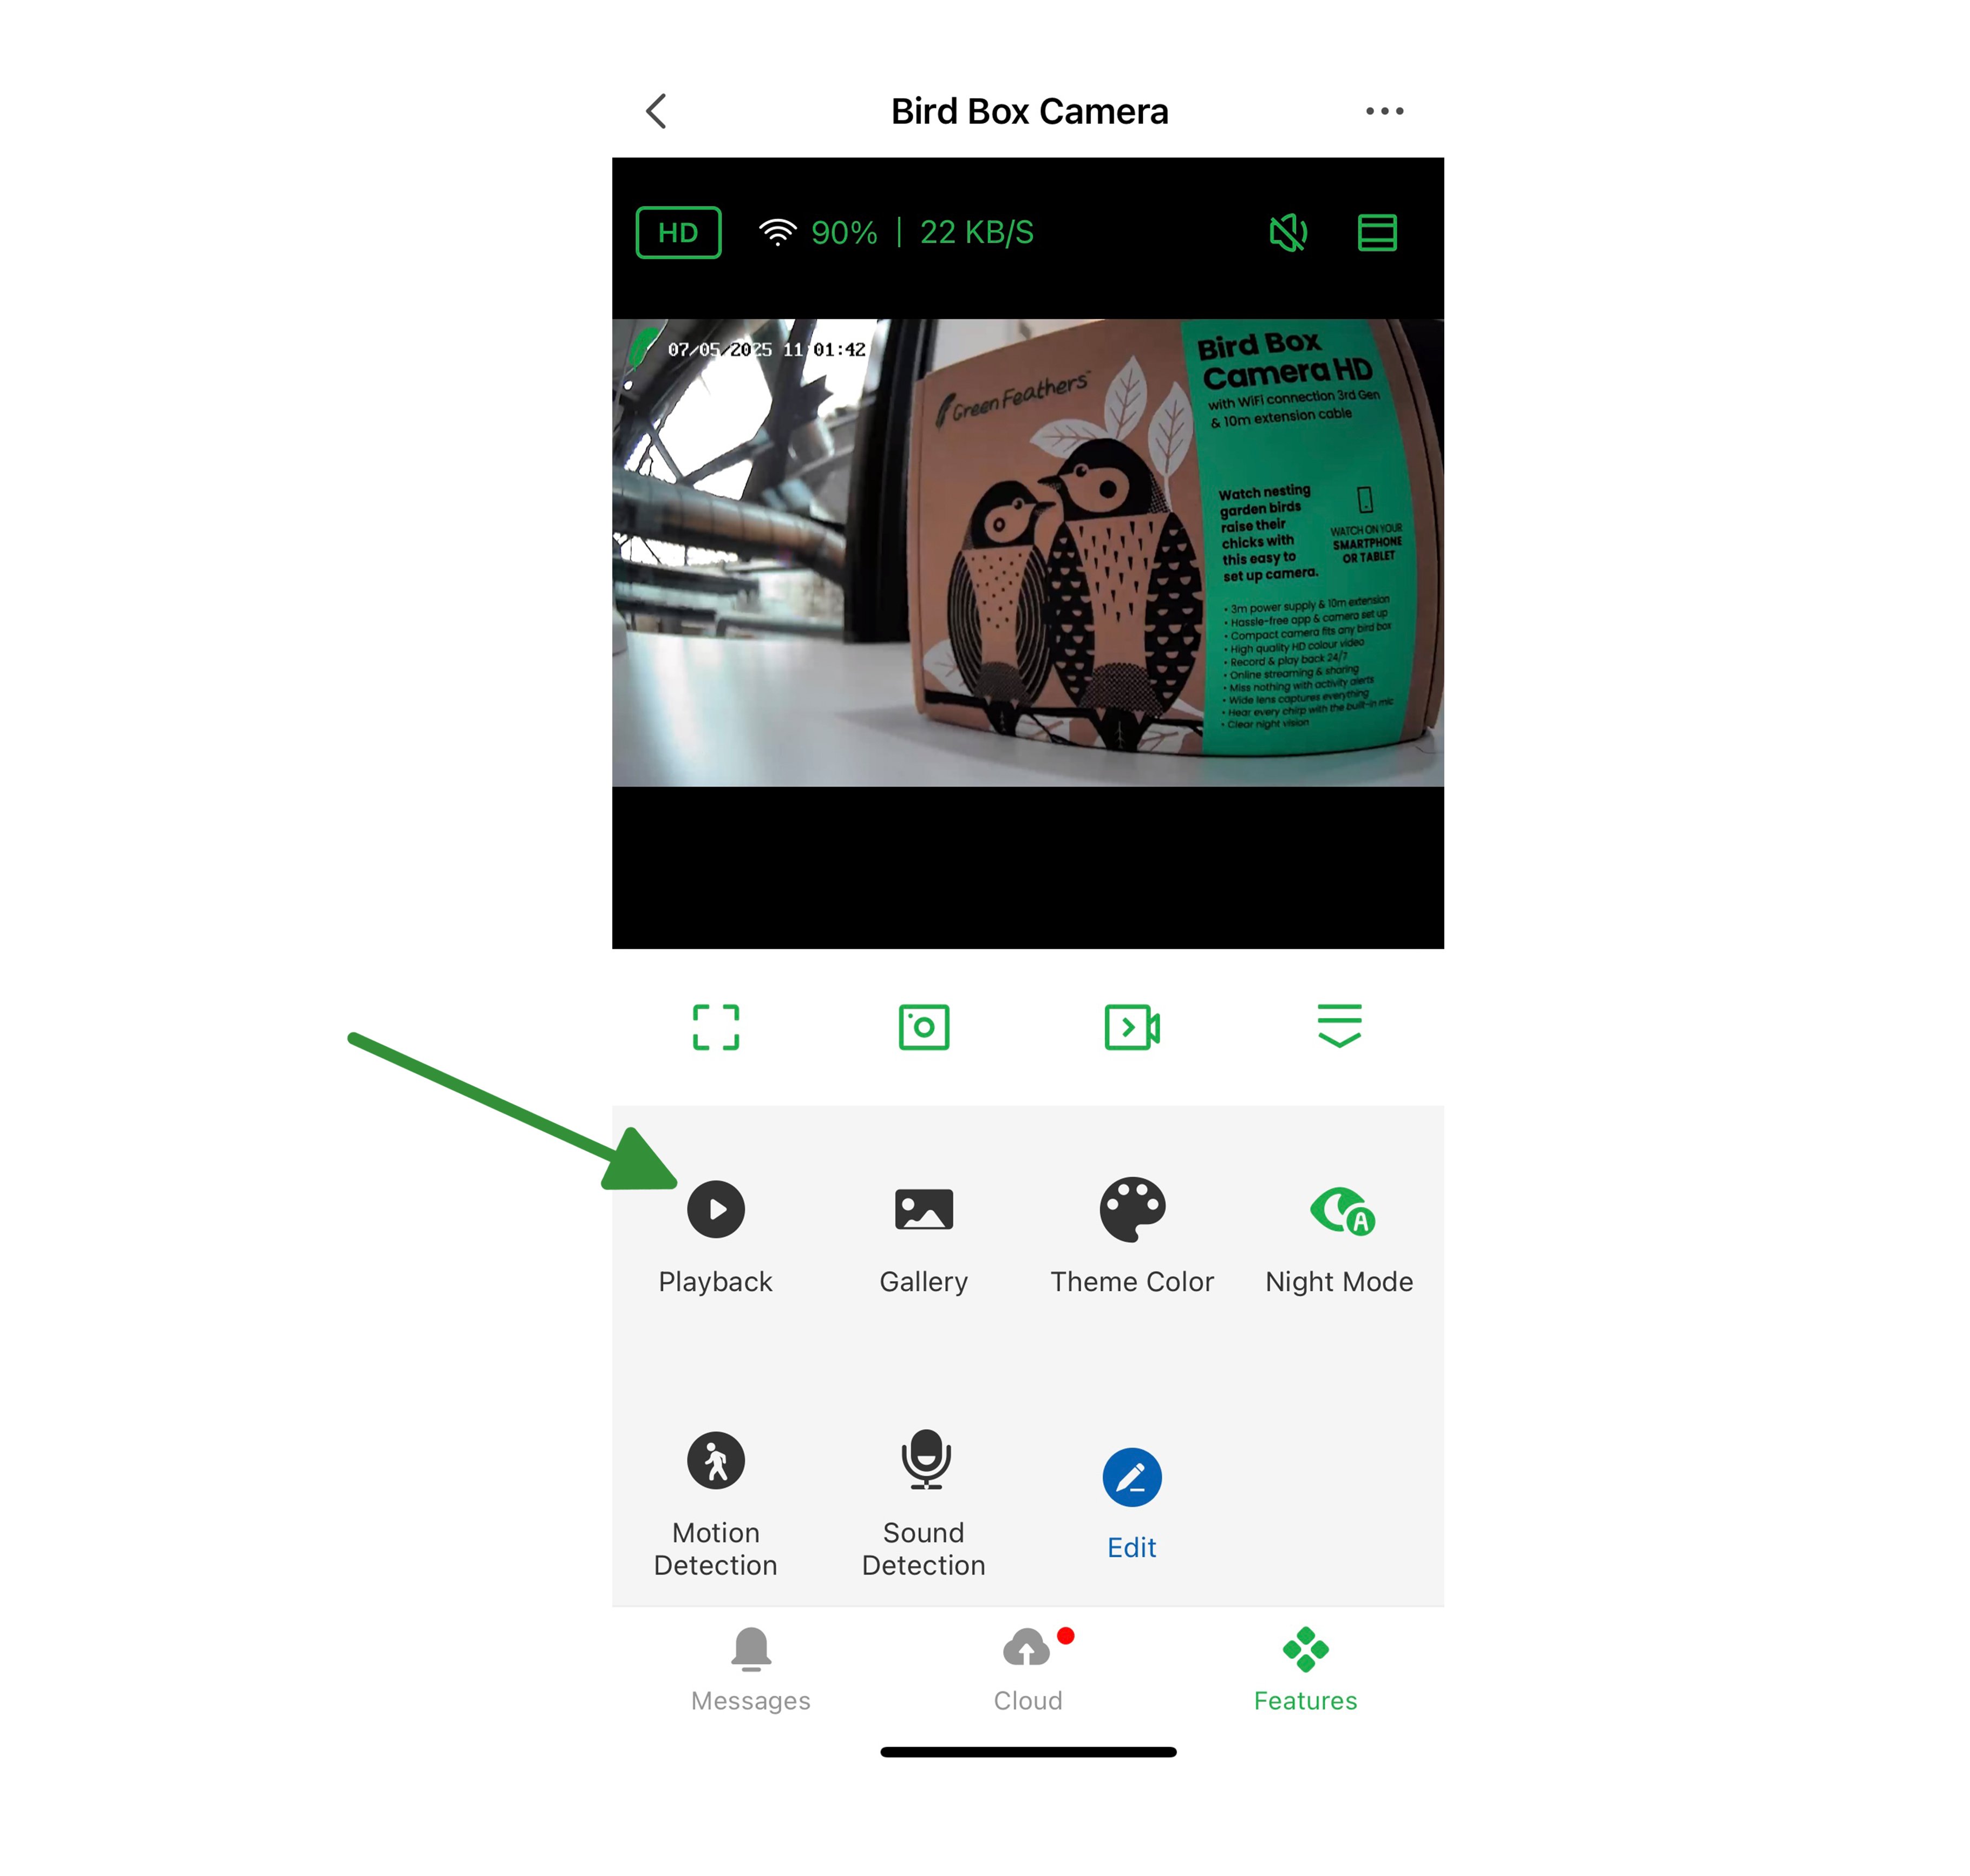
If you click onto the playback section it will take you to a page that looks like this:
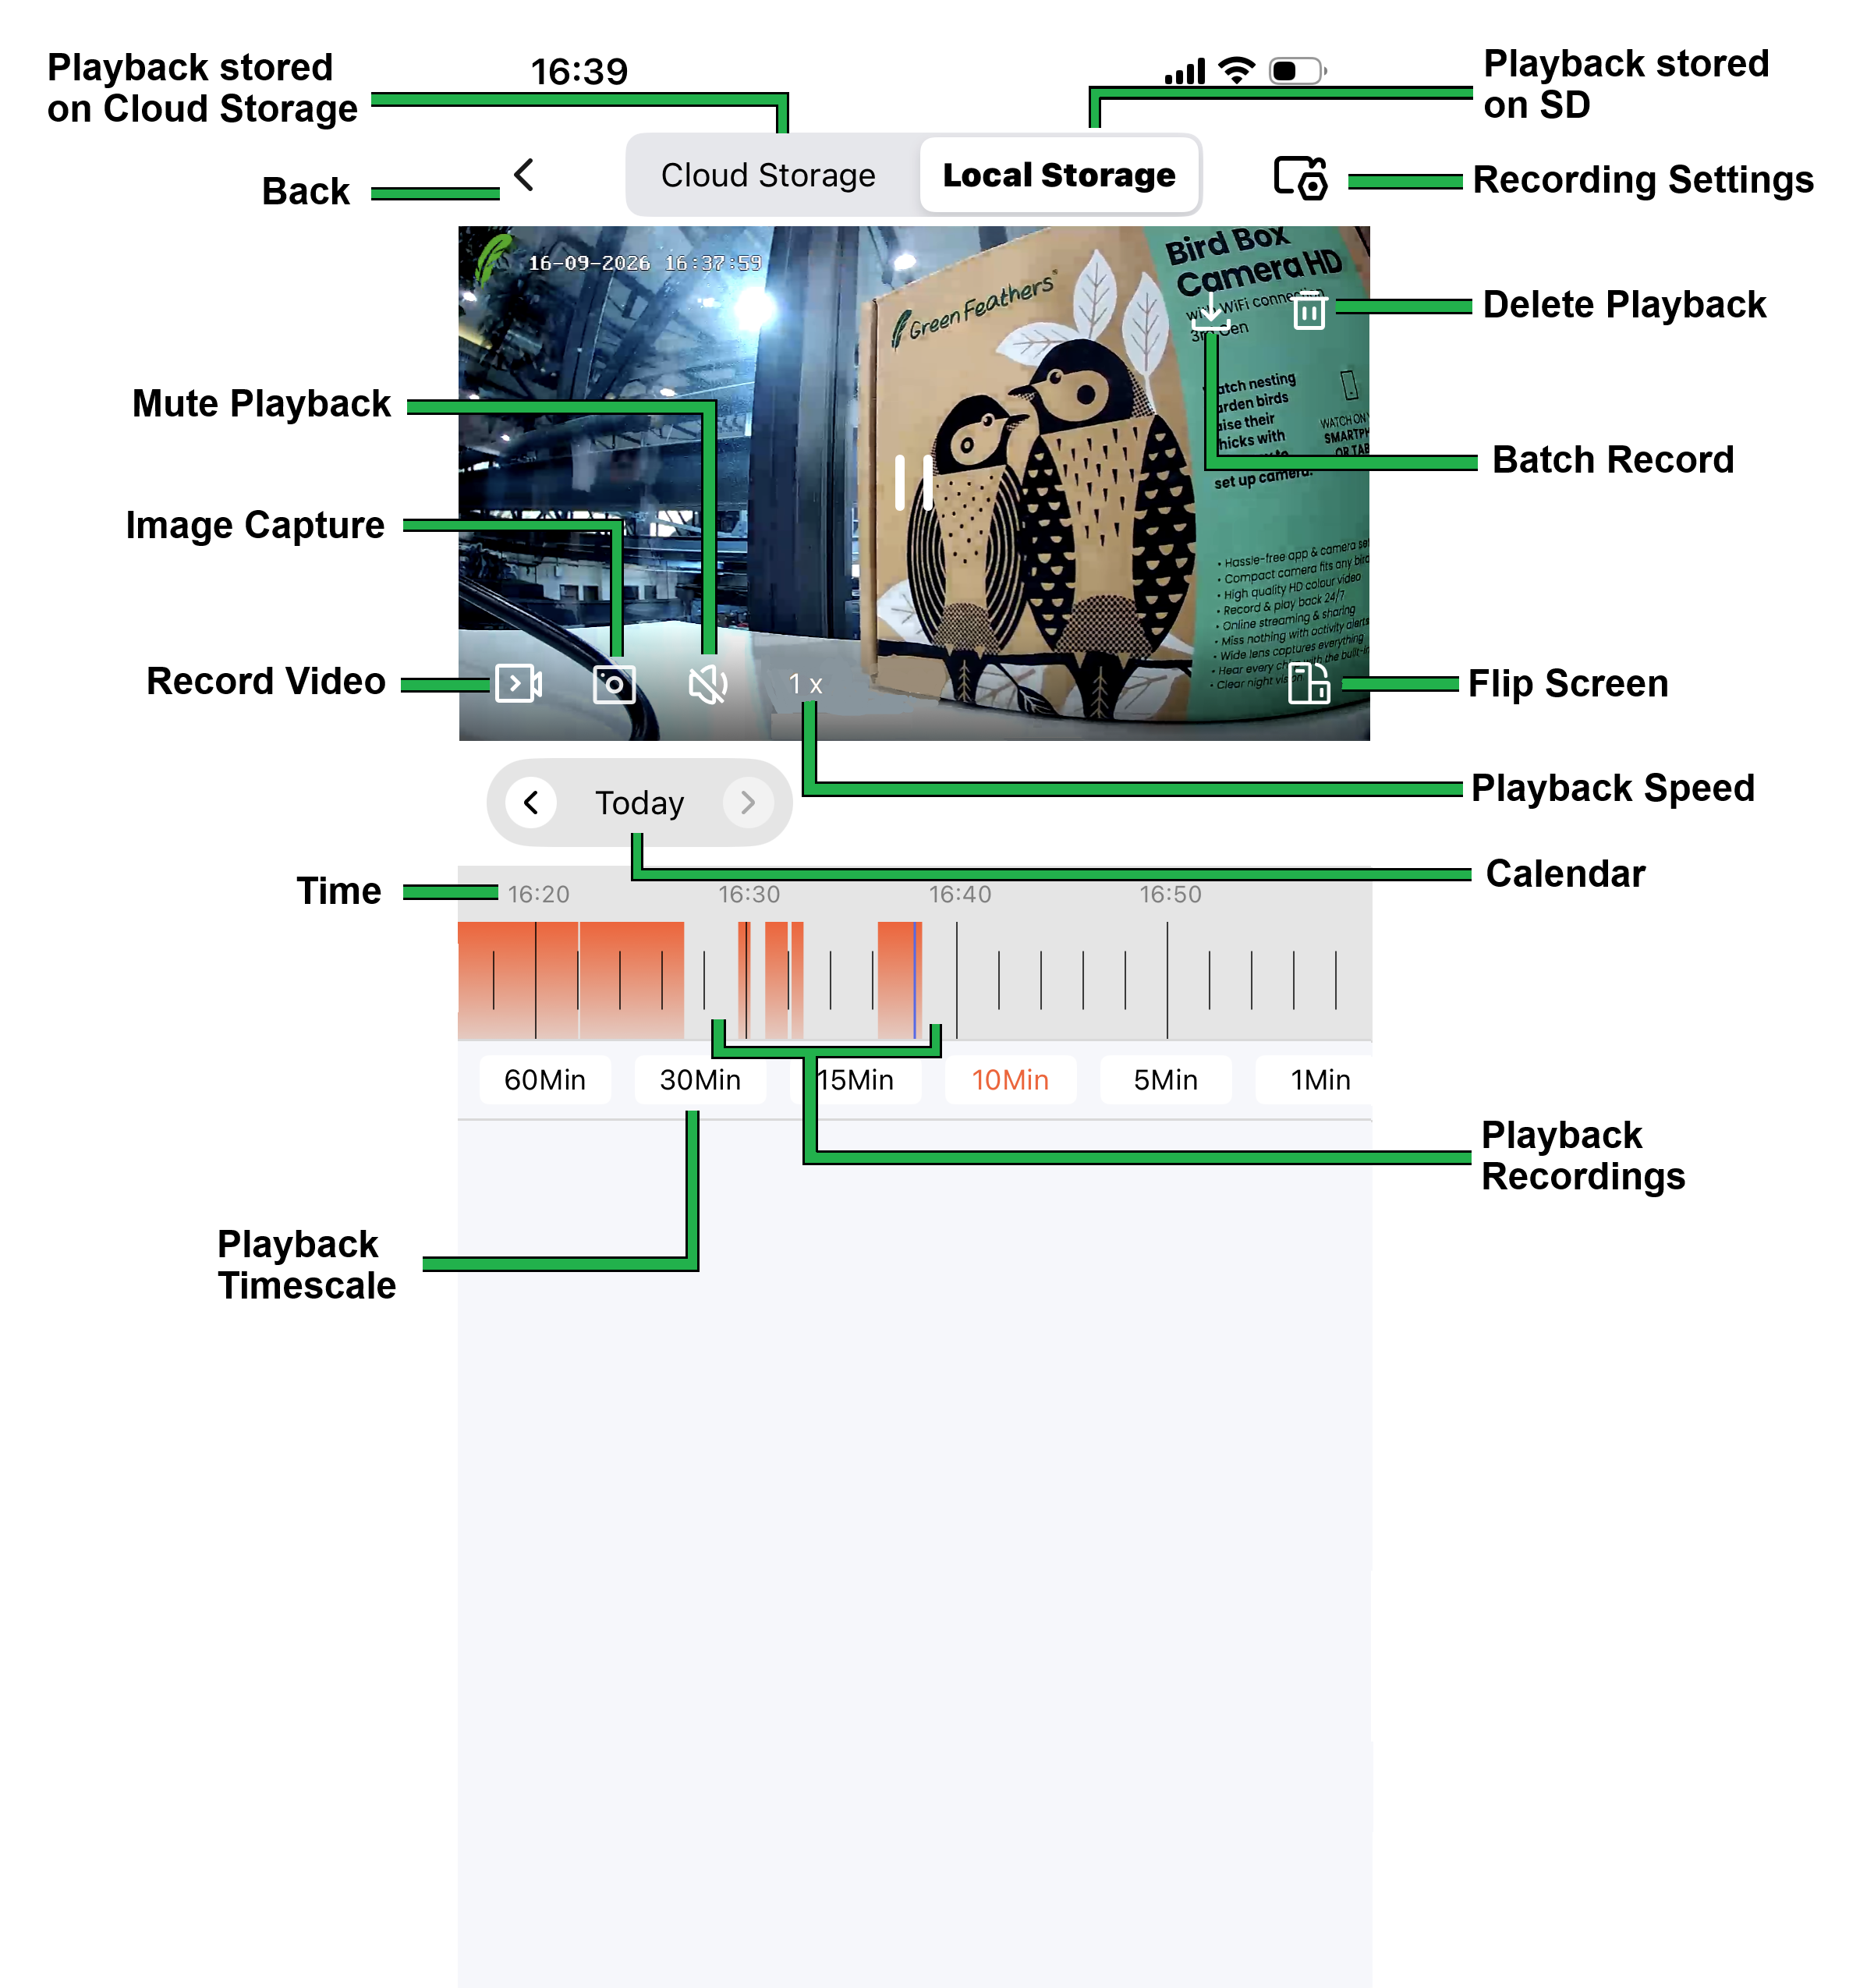
Back - This will take you back to the live view of the camera.
Cloud Storage - This shows you your Cloud Storage playback instead if you have a subscription for your camera. You can find out more about our Cloud Storage service here.
Local Storage - This is the page we are on - It shows playback for the videos stored locally on the cameras SD card.
Recording Settings - This takes you to your cameras Recording Settings. You can find out more about motion detection and recording settings here.
Delete Playback - This deletes any footage saved in playback for the current day.
Batch Record - This allows you to record multiple chunks of playback on the timeline to your Gallery. The app will then stich these separate chunks together into one video and save this in your gallery. Simply move the record window over the playback you want to save and tap the download button at the bottom of the page: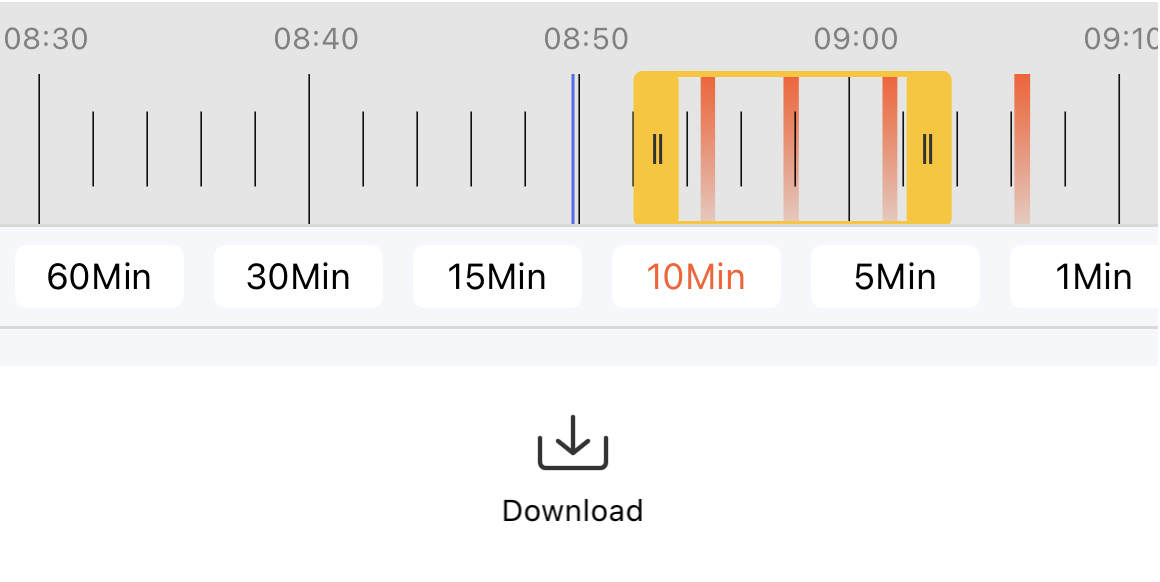
Flip Screen - This flips your playback to landscape/full screen.
Playback Speed - This changes the playback from1x or 2x speed.
Calendar - The calendar option opens up a calendar where you can choose particular dates where playback was recorded.
Playback Recordings - You will see these blue lines on the timeline, these are recordings that your camera has captured, triggered by motion detection. You can drag the timeline along and select the sections you want to view.
Playback Timescale - Changes how playback recording times are displayed. You can change this to better navigate through the playback timeline and fine tune on specific events.
Time - The time across the top of the timeline shows you the time of day the recordings were made.
Record Video - Tap this to start recording playback to your Gallery as you are watching it.
Image Capture - Image capture allows you to take a still image of a section of playback which is saved to your Gallery.
Mute Playback - This allows you to mute the playback footage.
How to export footage:
Once you have recorded a section of video that you want to save you need to navigate back and select 'Gallery'
This will show you all of the recordings and images you have saved. Select one and you will see three options pop up at the bottom.
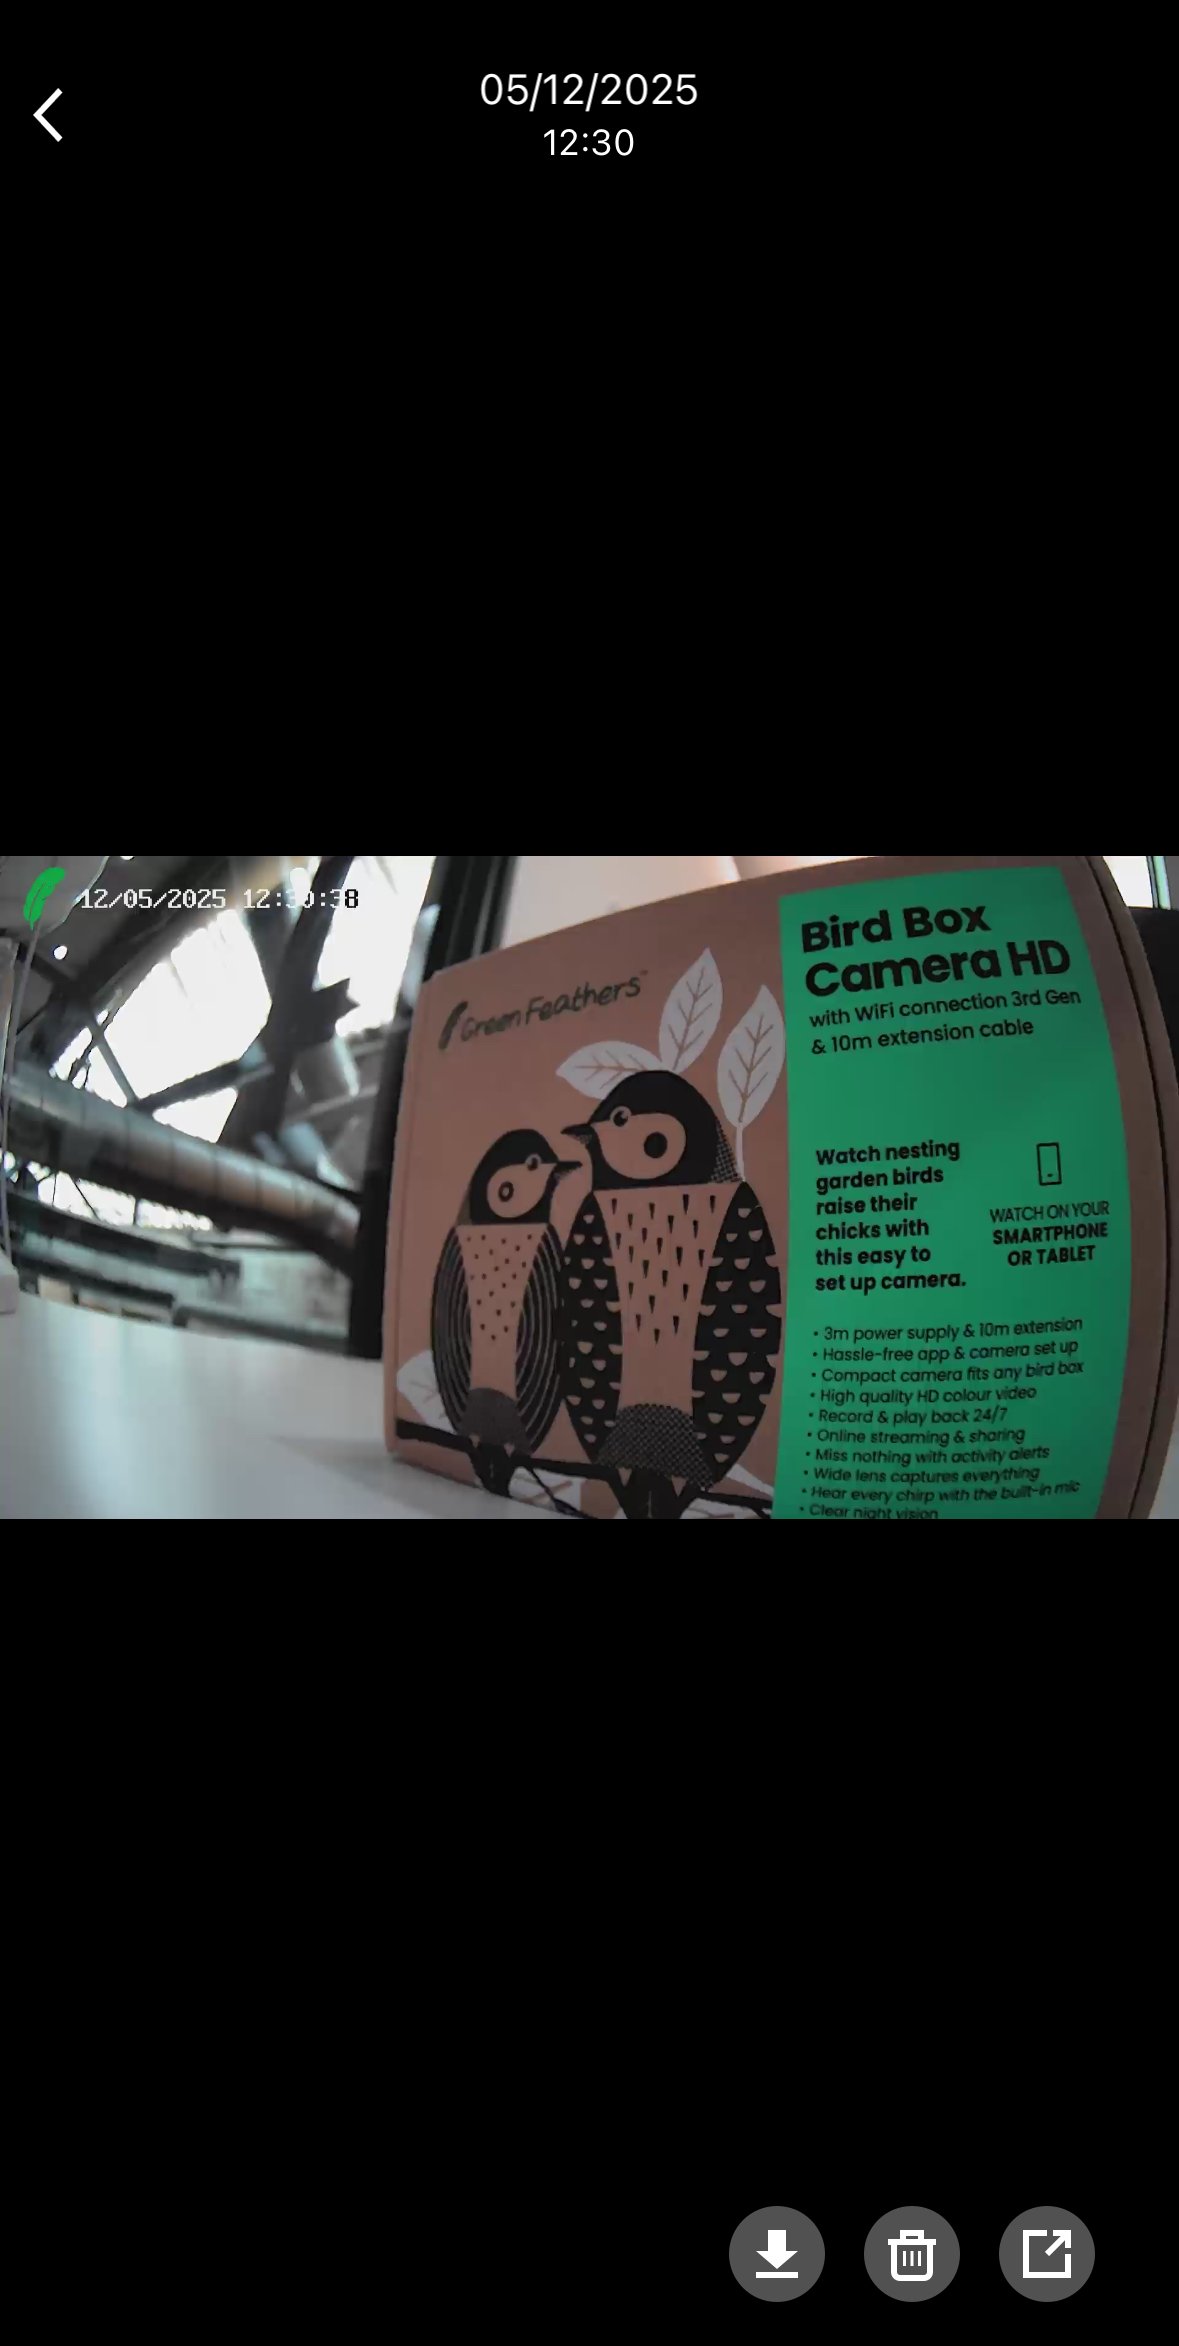
 Download (Left) this one allows you to download straight to your device.
 Delete (Middle) this will delete the file
 Share (Right) This allows you to share the image in multiple different ways, email, text etc.
Need more help?
If you need help with anything else please check out our other guides or get in contact.