Mounting your Green Feathers Solar Powered Battery Camera in a Bird BoxUpdated 2 months ago
You've got your new camera, excited to get it set up and see the local birds and wildlife in action. It's time to pause for a moment and make sure you have carried out these steps before going ahead and mounting your camera.
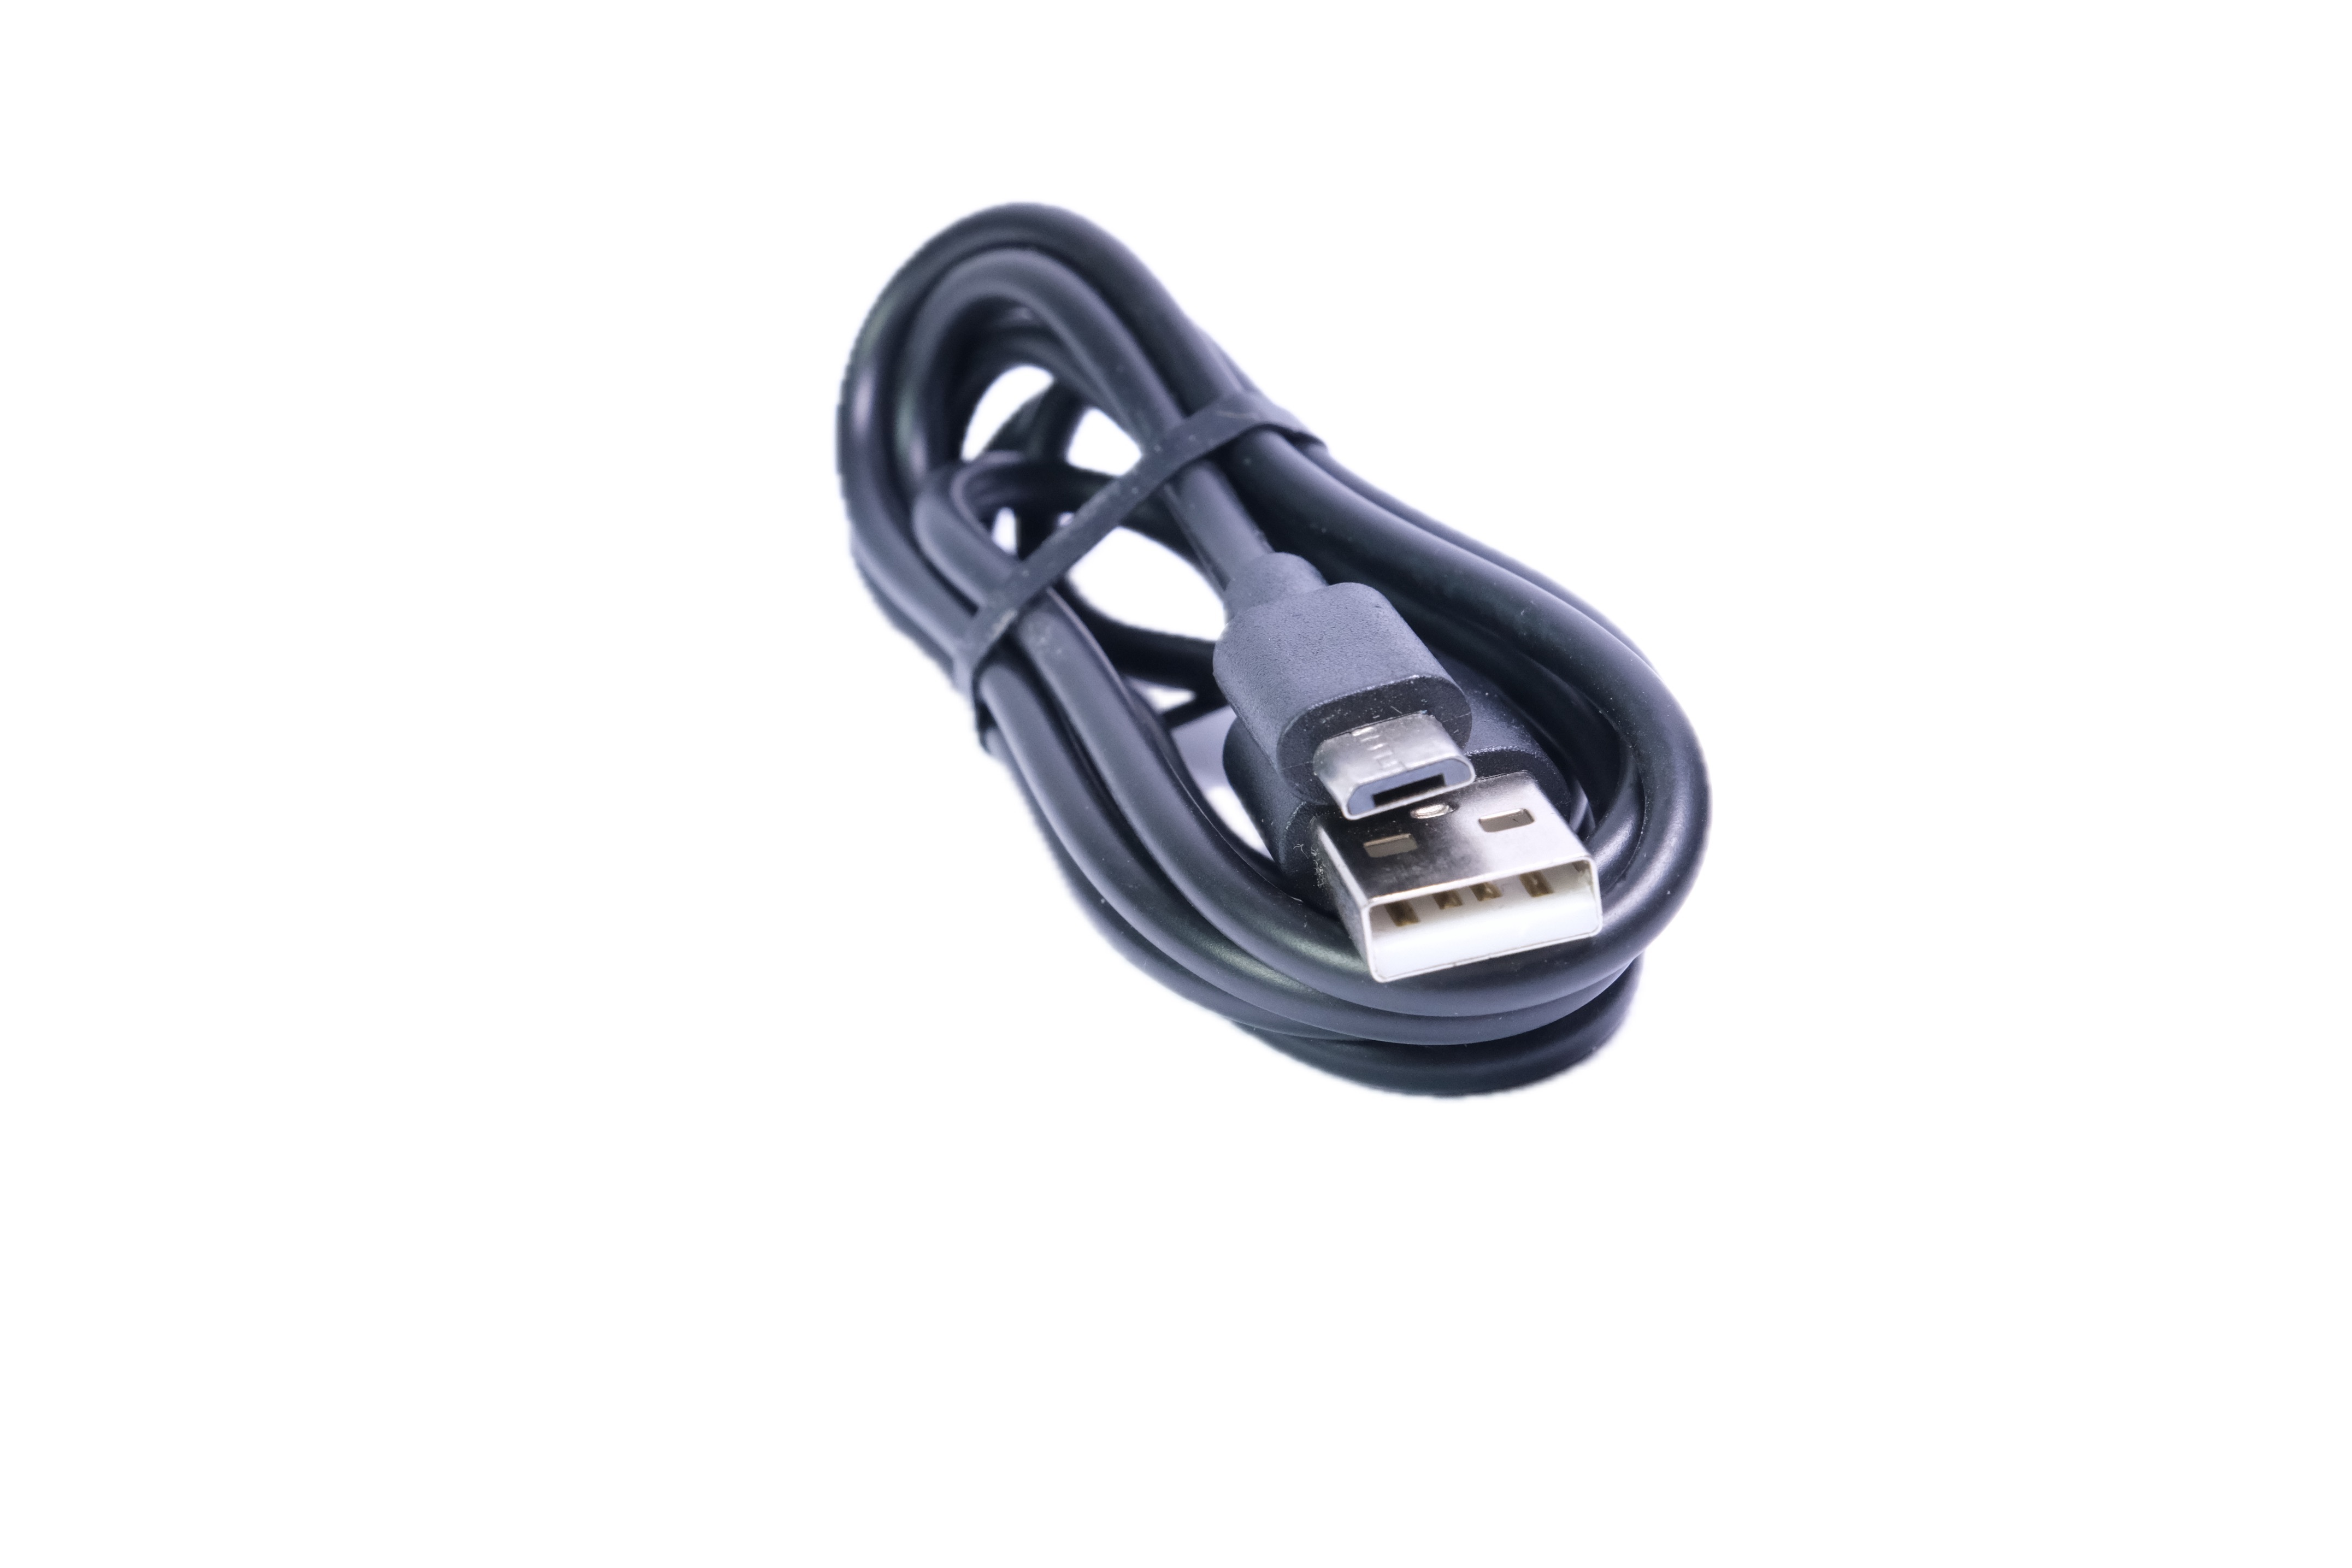
Make sure your camera and solar panel are fully charged. There are two USB cables provided, one is a Micro USB and the other is a USB Type C. Insert these into a USB UK three pin plug to charge.
 Micro USB (for charging solar panel)
 USB Type C (for charging camera)
- Have your camera connected to WiFi so that you have a steady video stream from it. One handy feature of this is a battery-powered camera, once connected to WiFI and charged you can take the camera to your desired location to make sure you still get a good video stream.
- If the video is not streaming properly such as stuttering, or a very delayed image you may want to look at ways to improve your WiFi signal. Visit our helpful guide for things to look out for and what you can do to improve this.
- If you are unsure of what birds you may be currently attracting then check out this blog post for how the whole of the bird box can affect this and also the location you want to put your box.
- Attach the Type C charging lead which goes from the solar panel to the camera. To do this remove the central part of the rubber grommet on the bottom of the camera and insert the lead. You will notice this will create a nice seal with the outer part of the rubber grommet as the supplied lead is a perfect fit.
What size bird box do I need?
We do supply bird boxes in which these cameras can fit. They are larger cameras due to having lithium-ion batteries in them so can easily fill up the space in a bird box.
We have this box ready for our solar cameras as it has 2 windows pre-installed to provide you with a colour image during the day. It is also slightly deeper than our other boxes to allow space for the camera.
If you are not using one of our boxes we have these recommendations for size and features.
- We recommend trying the camera in the desired location before drilling any holes to make sure you get the view you want.
- To see the entrance hole as well as the bottom of the box the mounting hole will want to be drilled around 10cm above the entrance hole and centralized. This will allow you to see all the action as it happens.
- To make sure you have ample space in the box you will want around 14cm (internal) depth.
- Having a slot or a cutout on the box is needed to run the power cable from the solar panel to the camera. On our boxes, we have this between the roof and the side panel.
- If you find space to be a limiting factor in your box you can mount the camera on the bracket sideways.
Mounting the camera to your box

1. Remove the inner section of the rubber grommet on the bottom of the camera and insert the Type C USB lead into this.
2. Now look at the bracket, you want the side where the hole is on its own without any anti-slip points. Insert the smaller 1/4-inch bolt into the top mounting point on the camera.
3. Feed the USB lead through a cutout on the side of the birdbox. If you are using one of your own birdboxes you will need to make a cutout for this.
4. Place the rear of the bracket against the bird box and feed the longer 1/4 inch bolt through the back into the bracket. The anti-slip points will make this nice and secure.
5. Connect the lead you fed out of the bird box to the short leading coming off the solar panel.
6. Your camera will now be all mounted and secure.
For the location you want to mount it please see these mounting instructions. It is also worth testing the bracket and camera location in your box before drilling any holes to make sure you are going to get the image that you want.
Looking to purchase one of our Solar Powered WiFi Bird Box Cameras? Click here.
Need more help?
If you need help with anything else please check out our other guides or get in contact.
